Prepare Realm and OIDC Client
Eclipse ioFog integrates Keycloak as its identity and access management (IAM) solution to provide secure authentication and authorization across the platform. By leveraging Keycloak, ioFog ensures a centralized and scalable approach to manage user identities, roles, and permissions. This integration enables robust Role-Based Access Control (RBAC) for users, ensuring secure access to critical edge infrastructure and applications. With Keycloak, Eclipse ioFog supports Single Sign-On (SSO) and identity federation, streamlining user management while enhancing security, making it an ideal solution for enterprises operating in dynamic and distributed environments.
Roles and permissions
By default preconfigured Eclipse ioFog realm comes with below Realm level roles:
- iofog-Admin
- iofog-SRE
- iofog-Developer
- iofog-Viewer
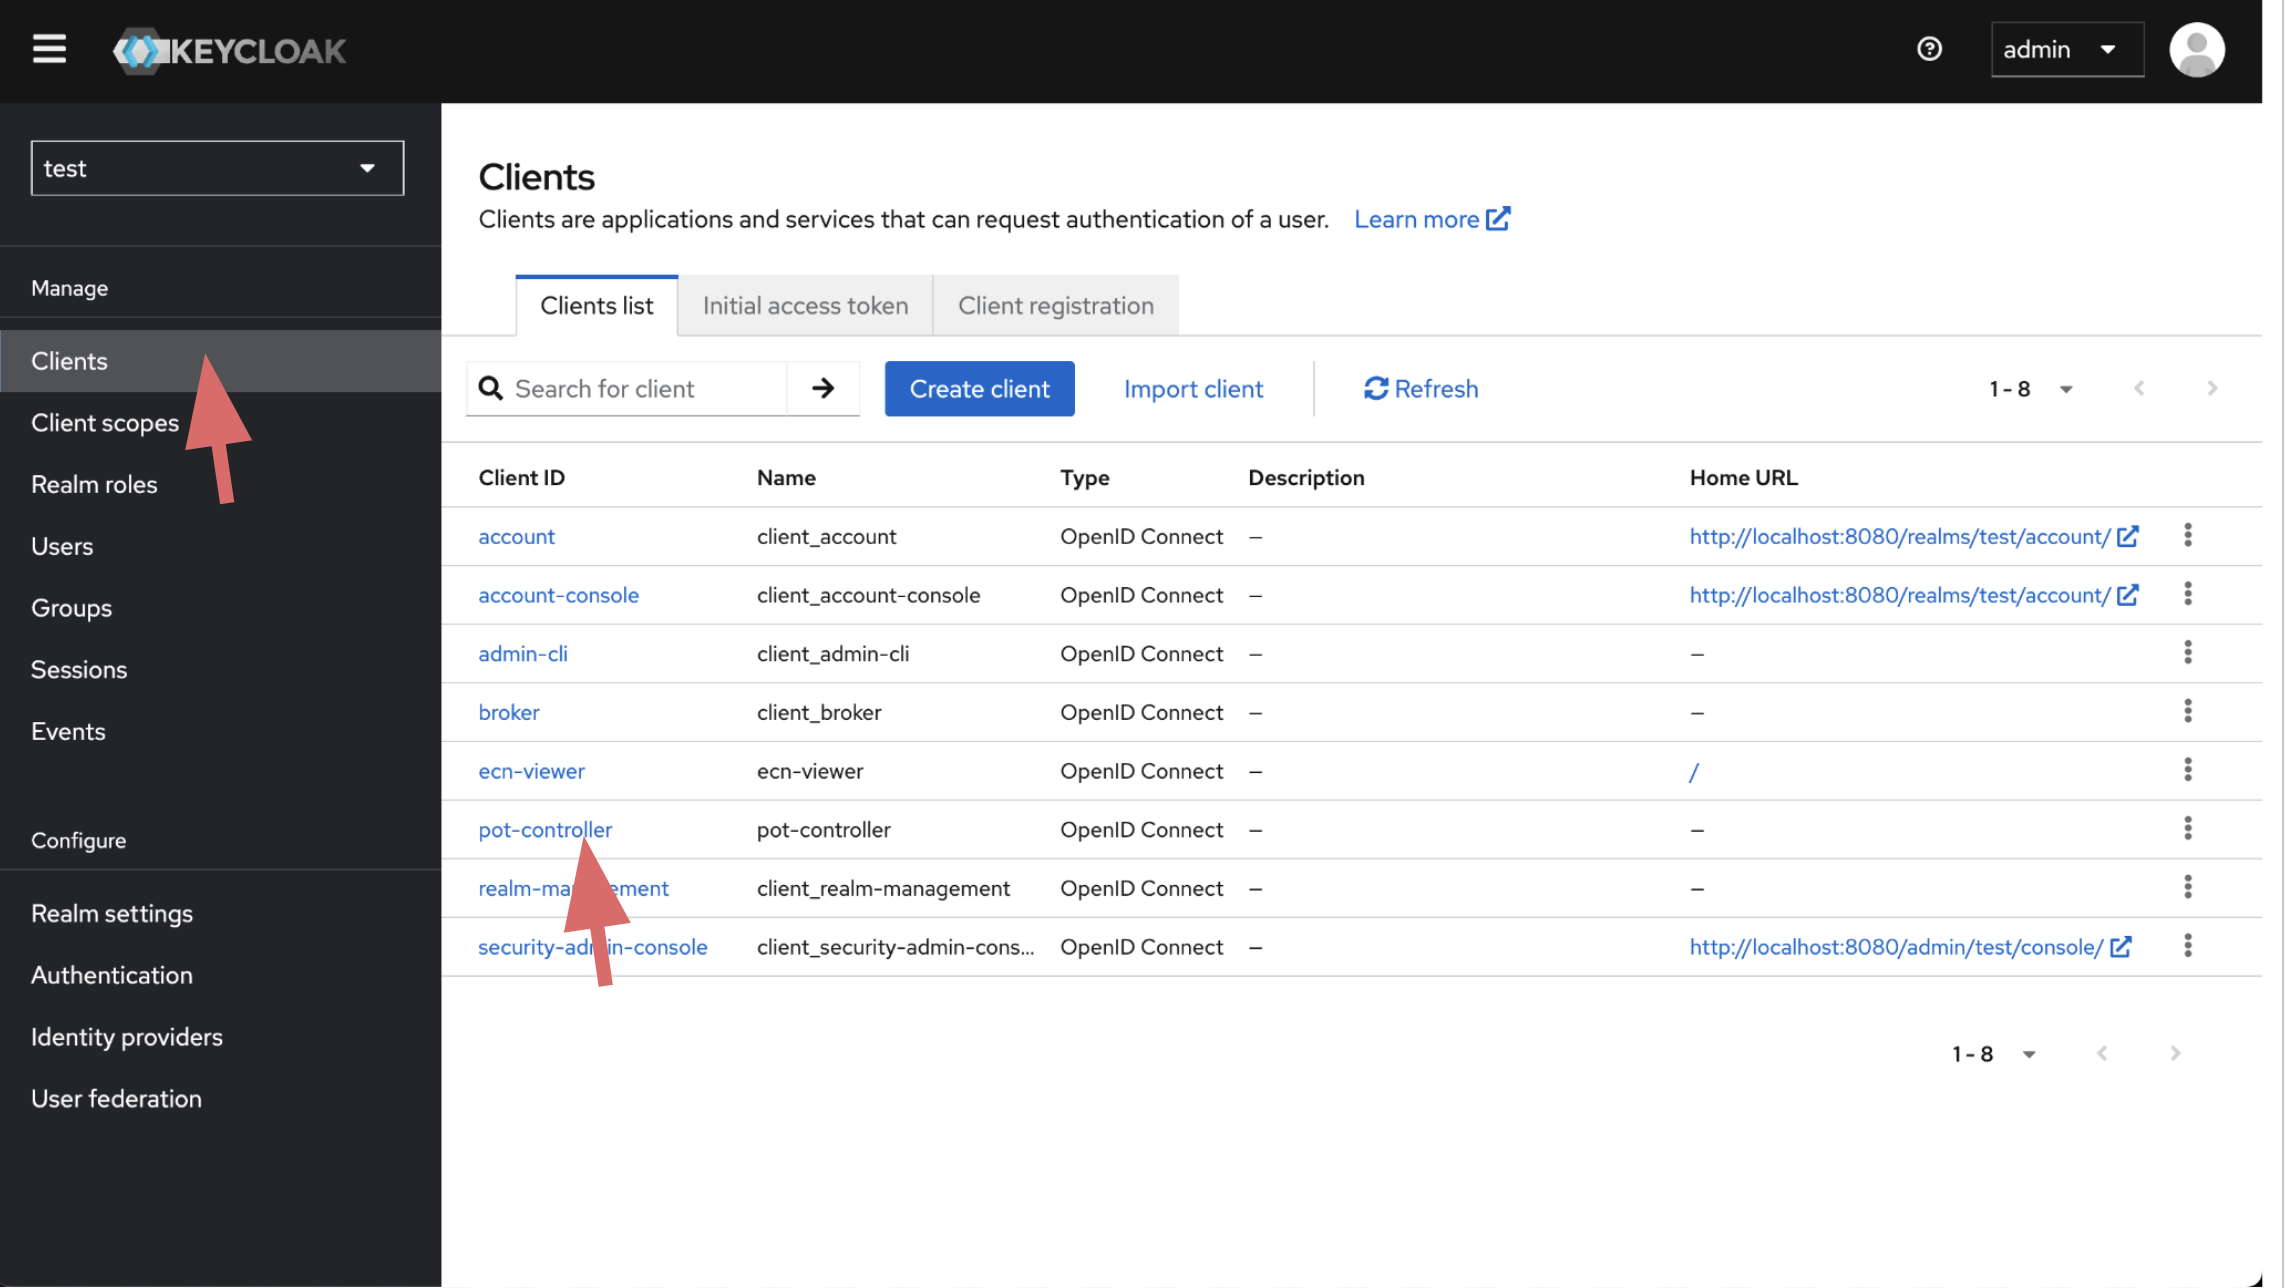
By default preconfigured Eclipse ioFog realm comes with two client iofog-controller and ecn-viewer.
ecn-viewerclient comes with Standard Flow , iofog-controller client comes with Direct access grants and Service accounts roles
Both iofog-controller and ecn-viewer client has tree roles: SRE, Developer and Viewer
Below you can find how realm Level roles are associated with Client level roles.
| Realm Role | iofog-controller | ecn-viewer |
|---|---|---|
| iofog-Admin | Admin | Admin |
| iofog-SRE | SRE | SRE |
| iofog-Developer | Developer | Developer |
| iofog-Viewer | Viewer | Viewer |
Only users with iofog-Admin roles can access Keycloak console and add or remove users, configure realm settings.
SRE's can deploy, manage and configure both Agents, System Applications, Applications and Microservices.Developer's can deploy, manage and configure Applications and Microservices.Viewer's can only view the cluster resources.
By default users with Developer and Viewer roles need to configure 2FA. If you want to force SRE's to 2FA you need to configure settings on browser dynamic otp flow on Authentication section.
Download PreConfigured Realm Configuration for Eclipse ioFog
You can download preconfigured realm import json for Eclipse ioFog with below command. Replace newRealmValue with the you would like to give for your realm.
wget -q -O - "https://iofog.org/iofog-realm-template.json" | sed 's/\$realm/newRealmValue/g' > datasance-iofog-ralm.jsonExample
wget -q -O - "https://iofog.org/iofog-realm-template.json" | sed 's/\$realm/test/g' > datasance-iofog-realm.jsonImport Realm
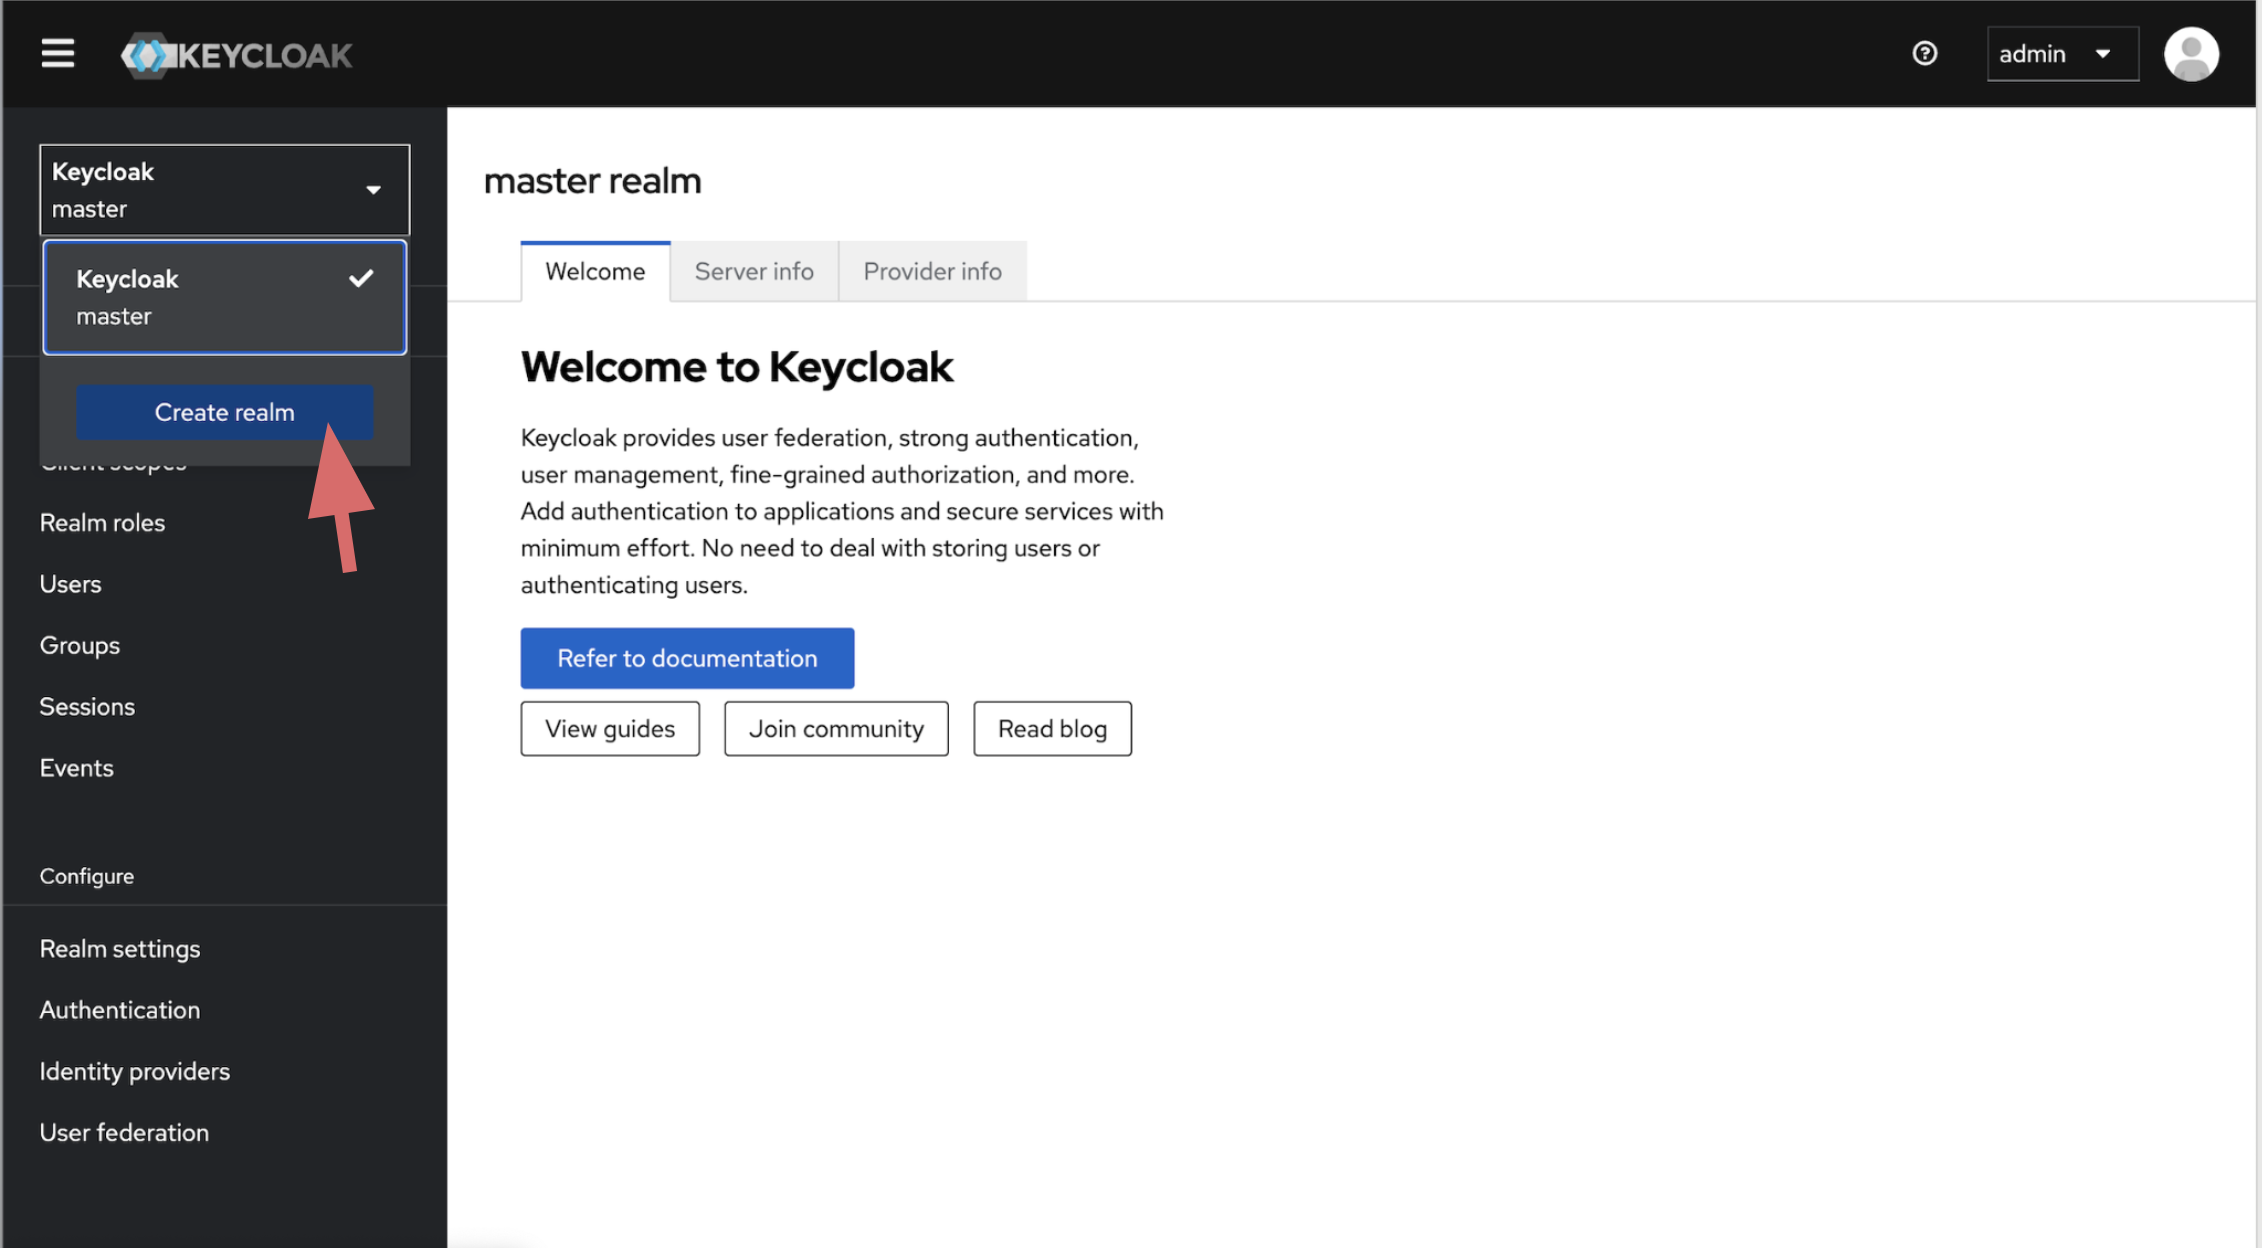
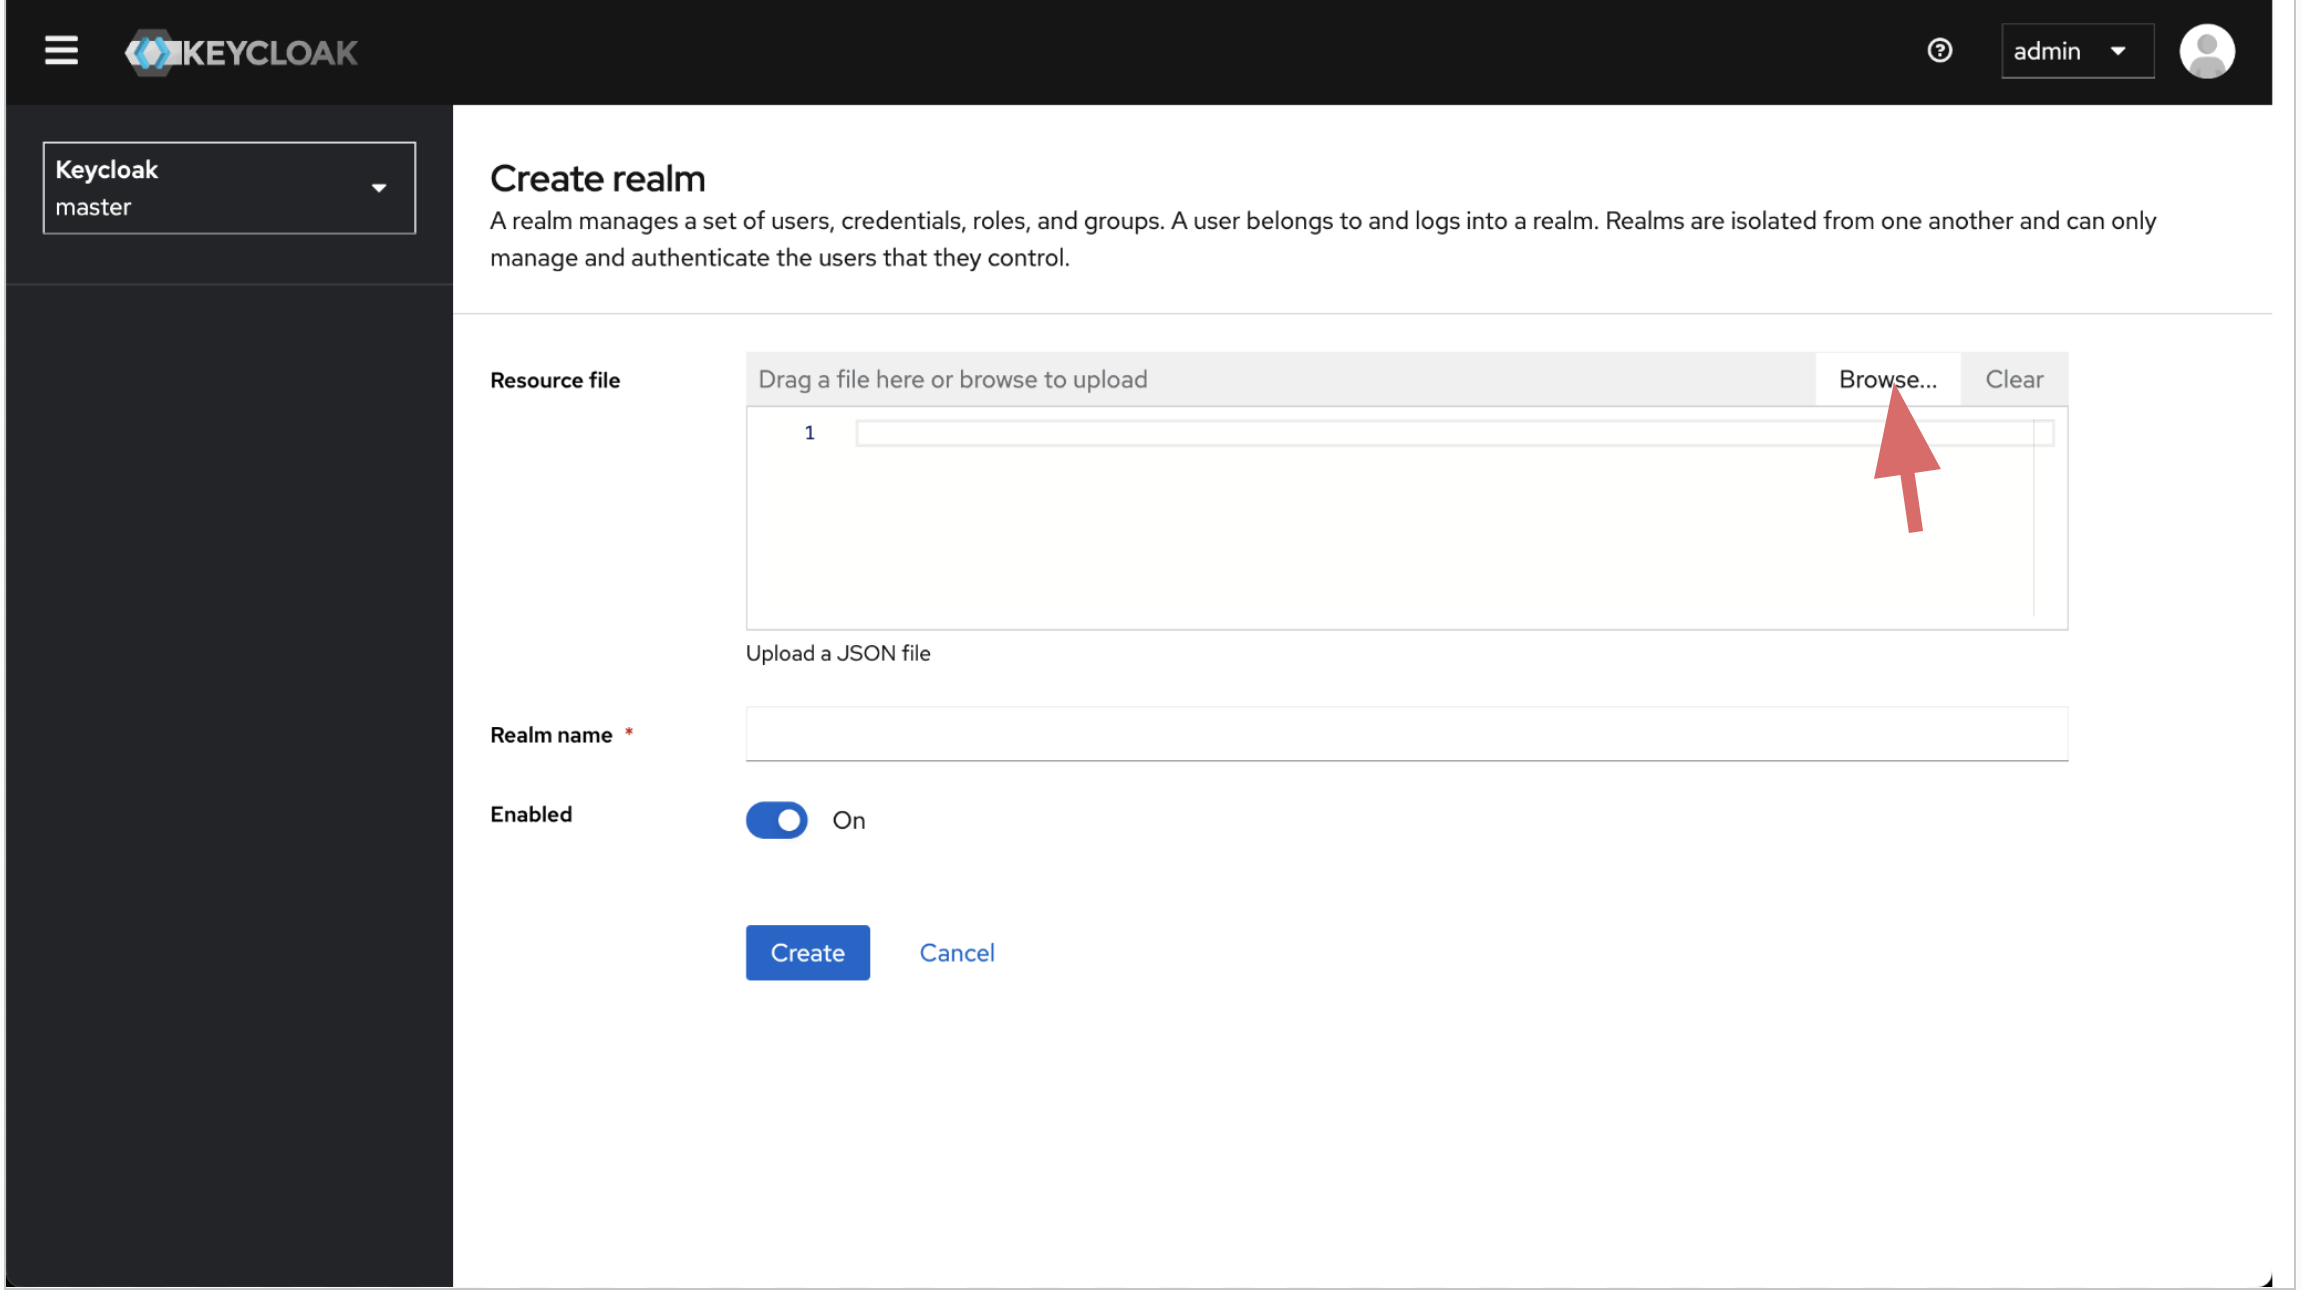
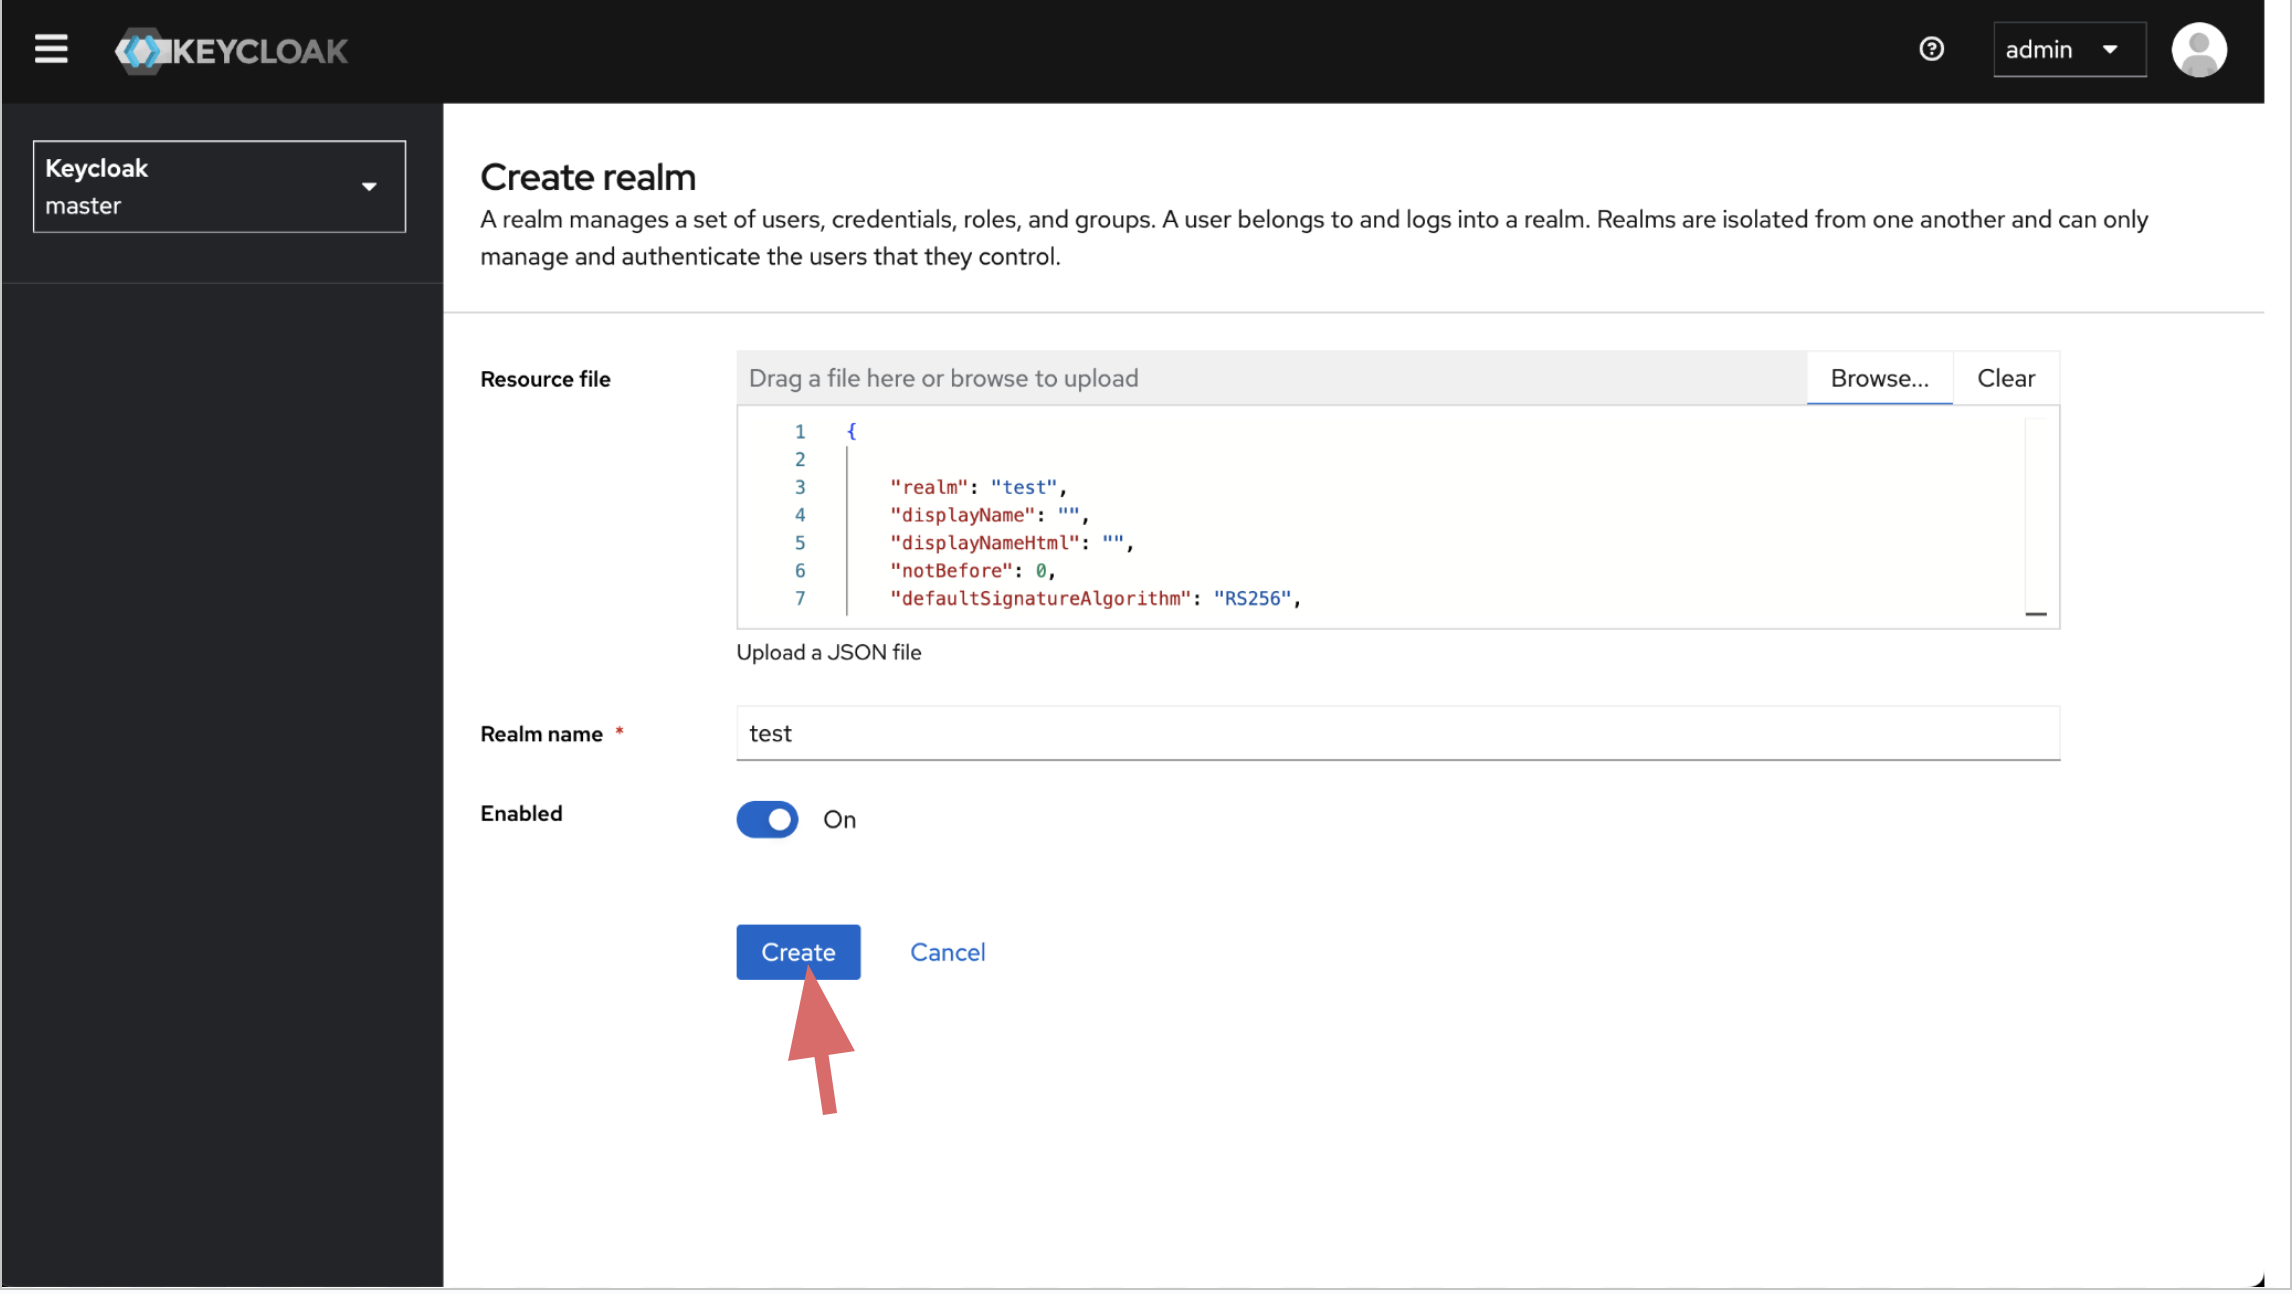
Import the preconfigured realm json you download in previous step.
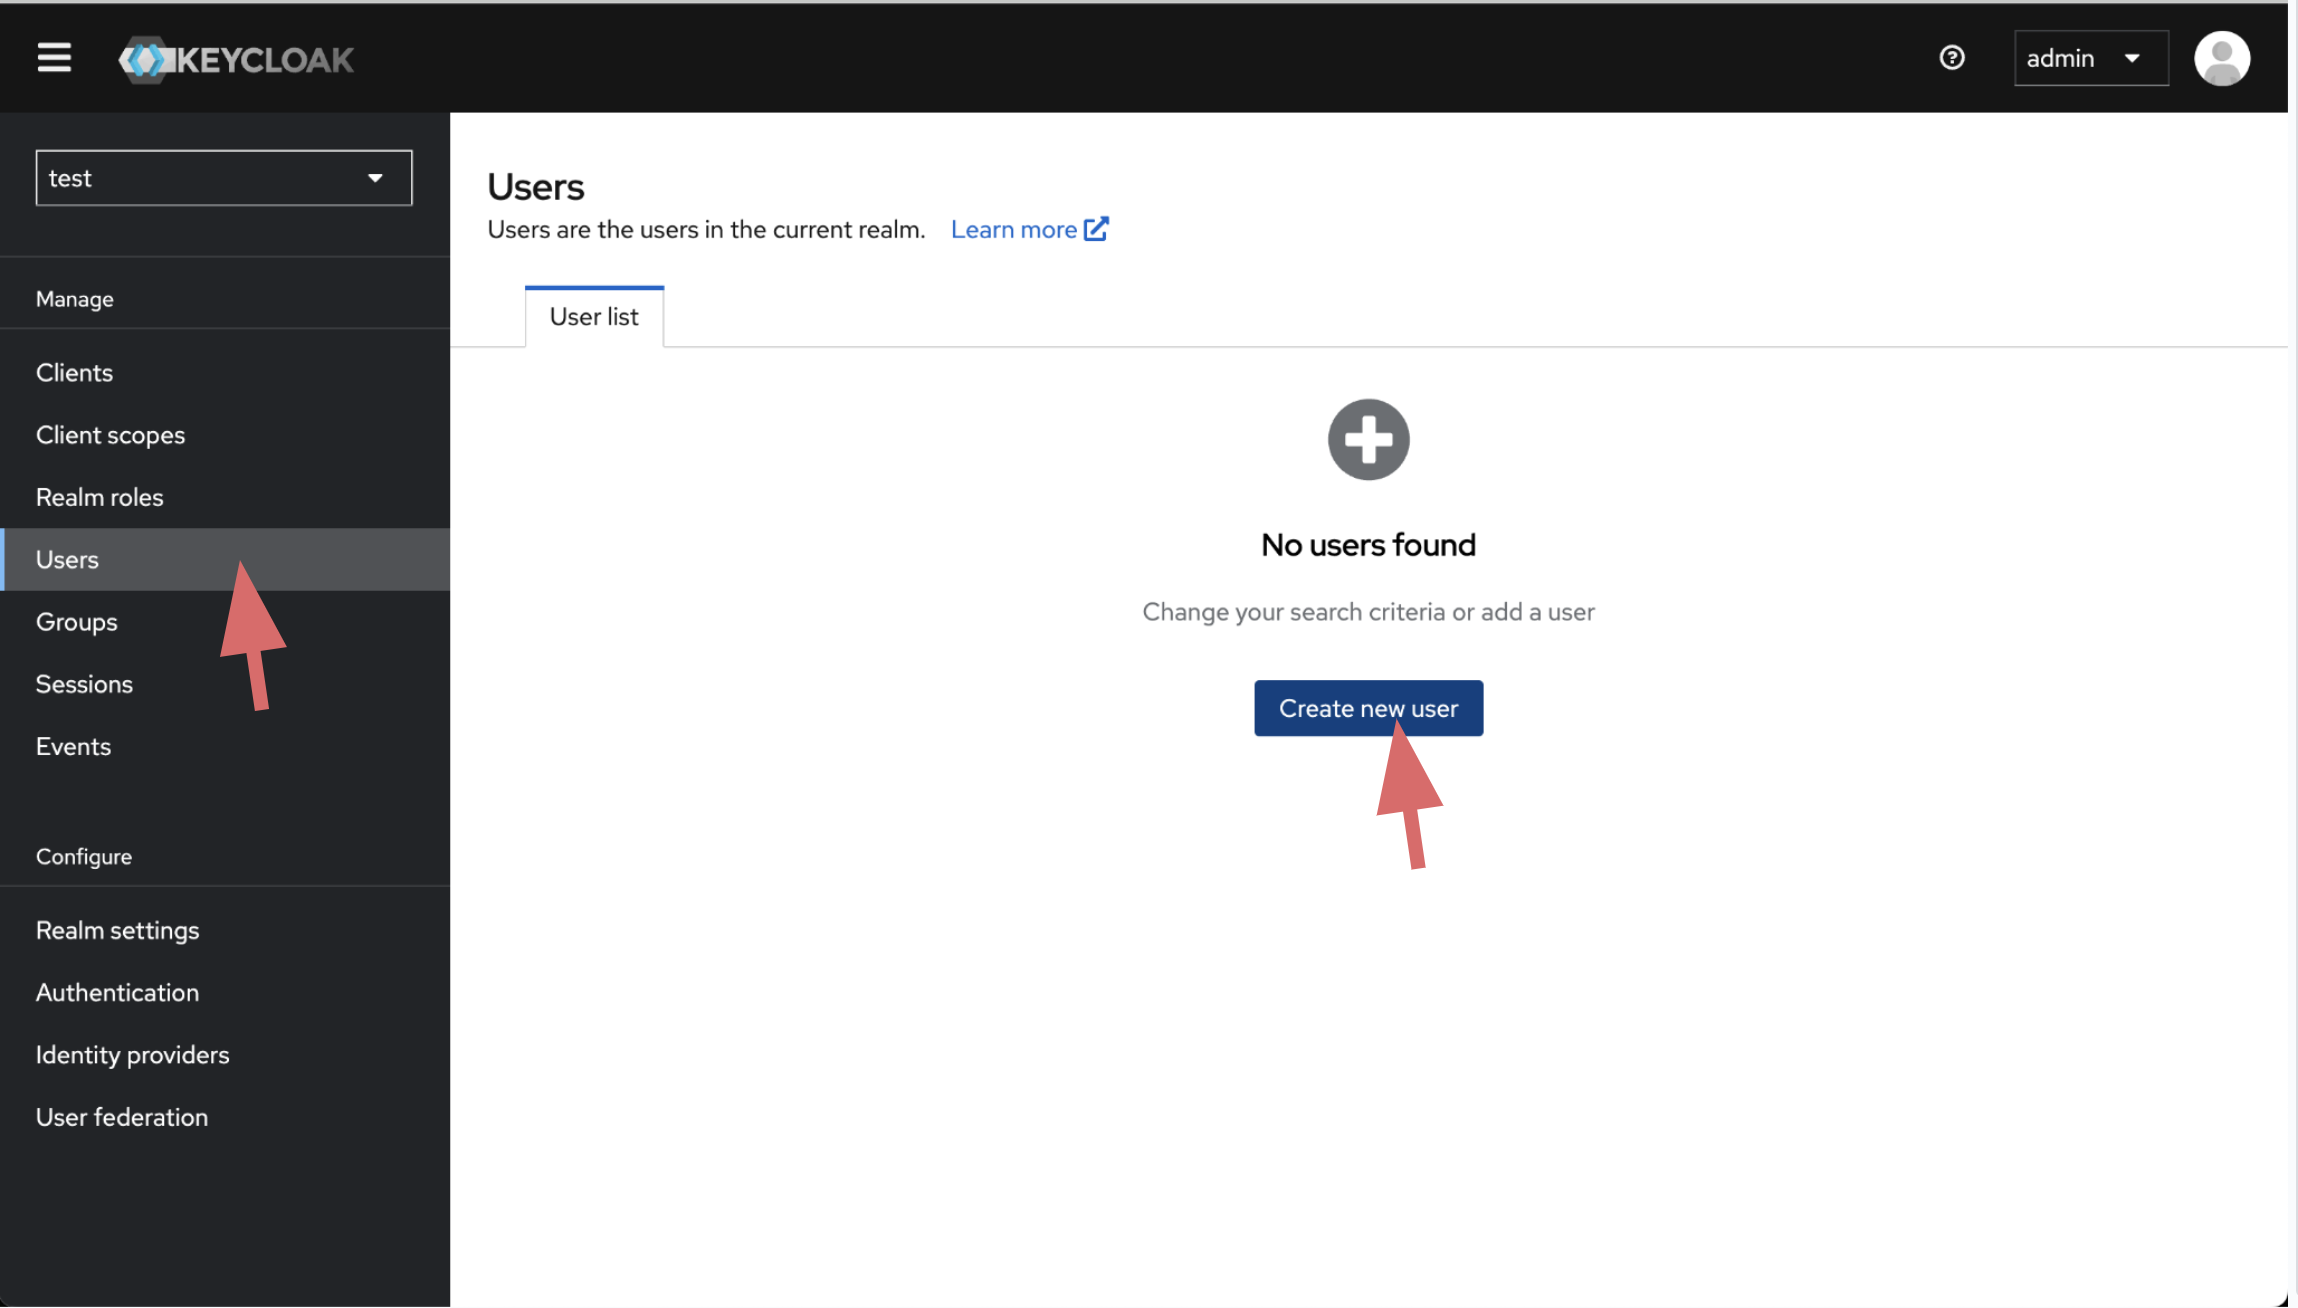
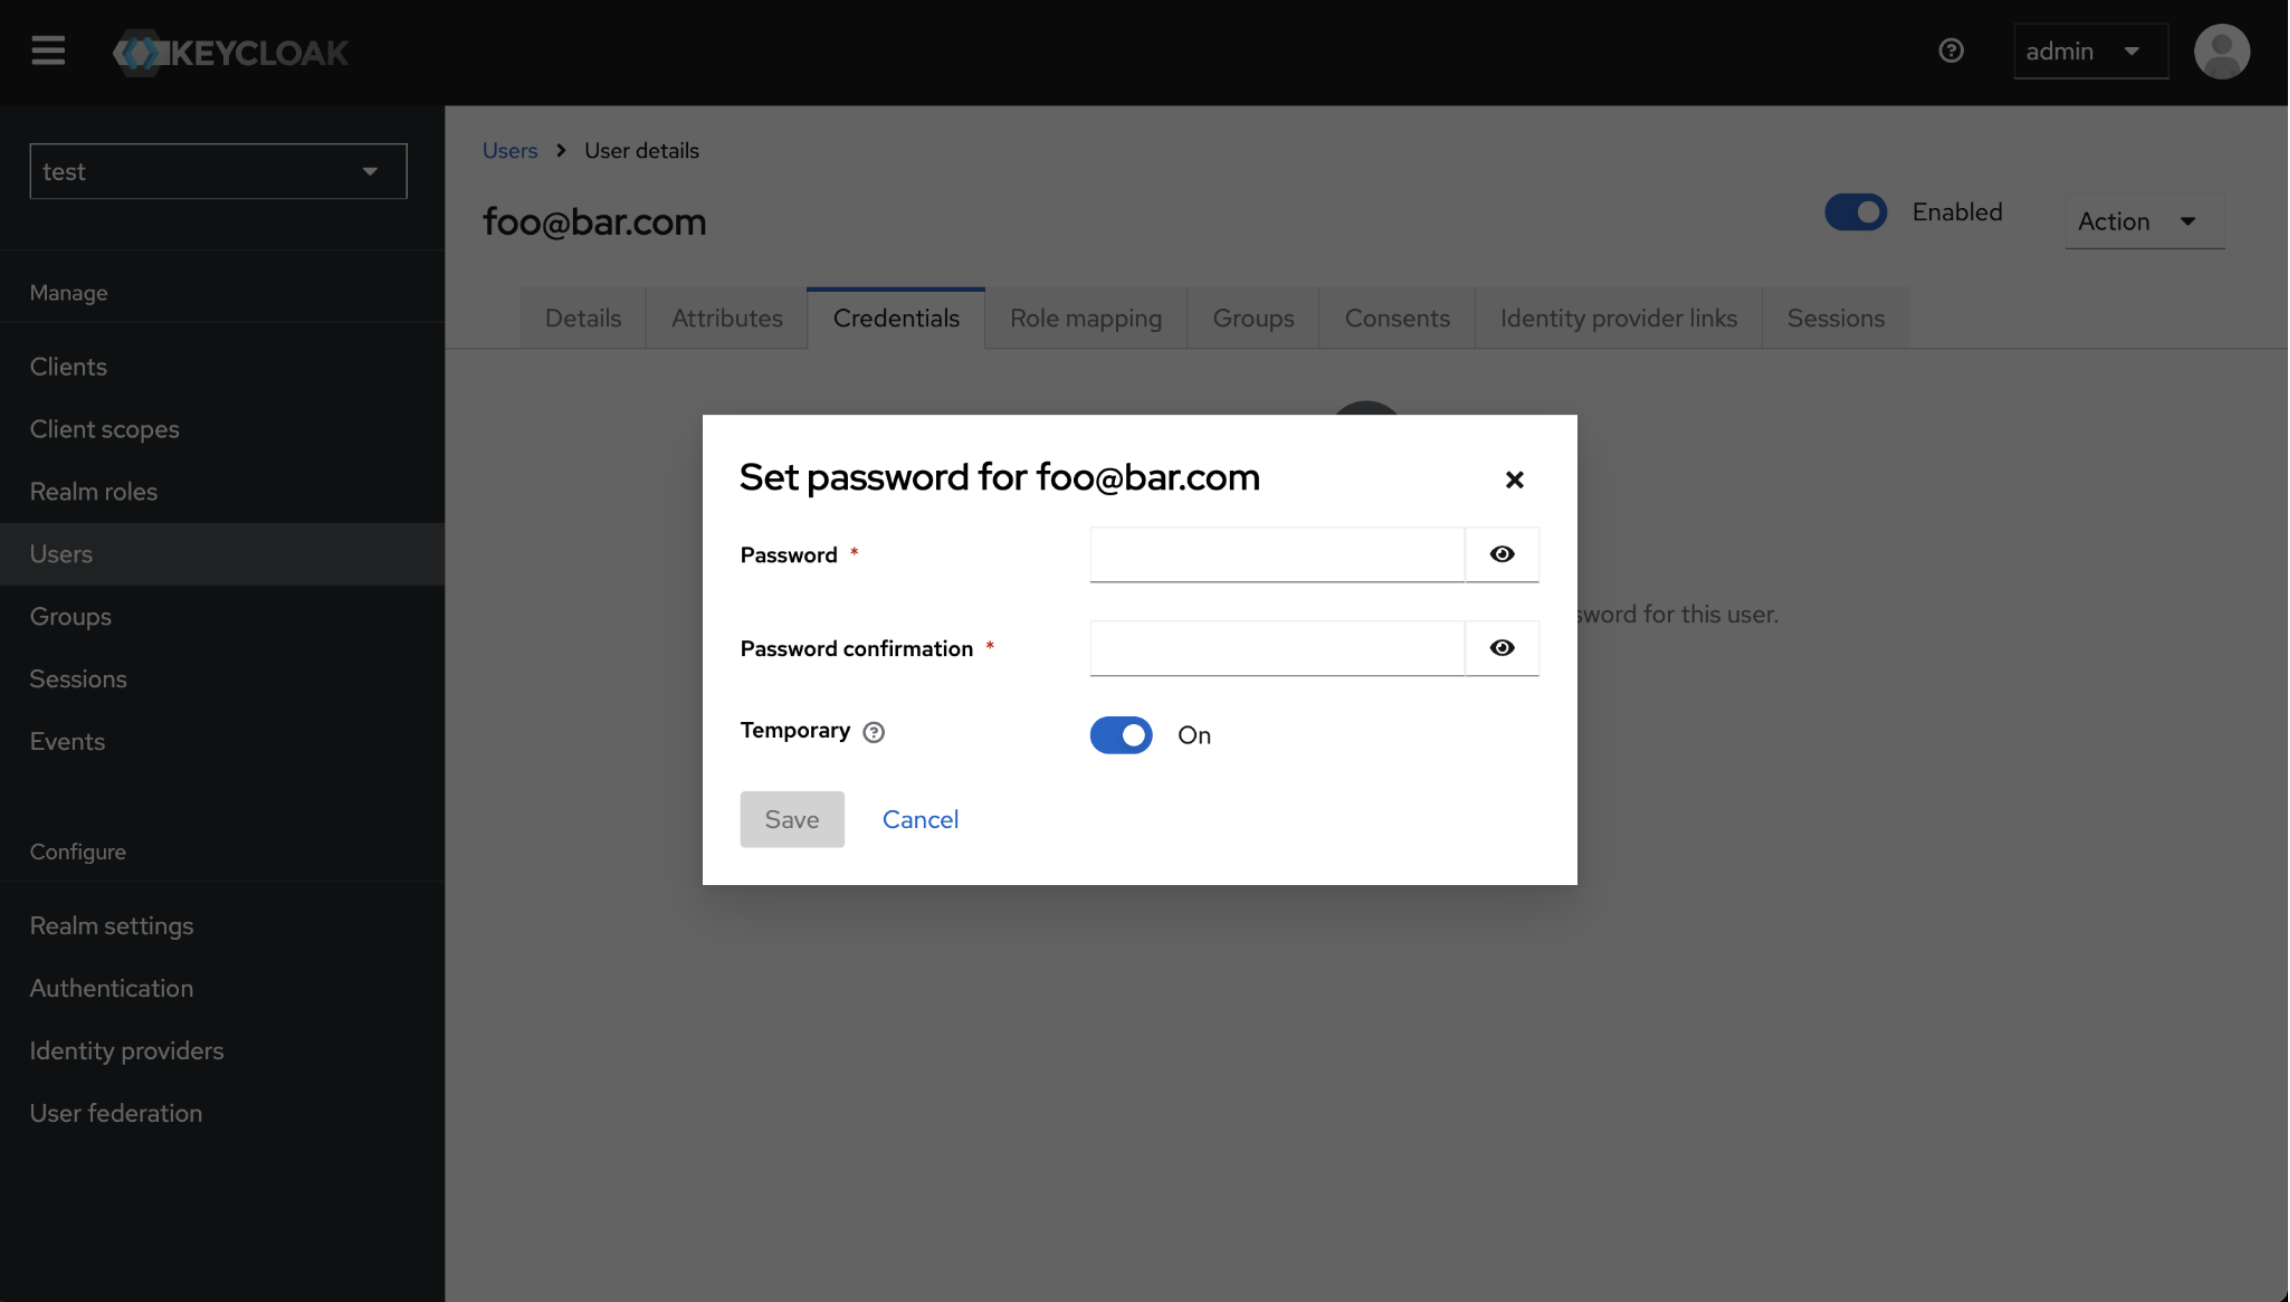
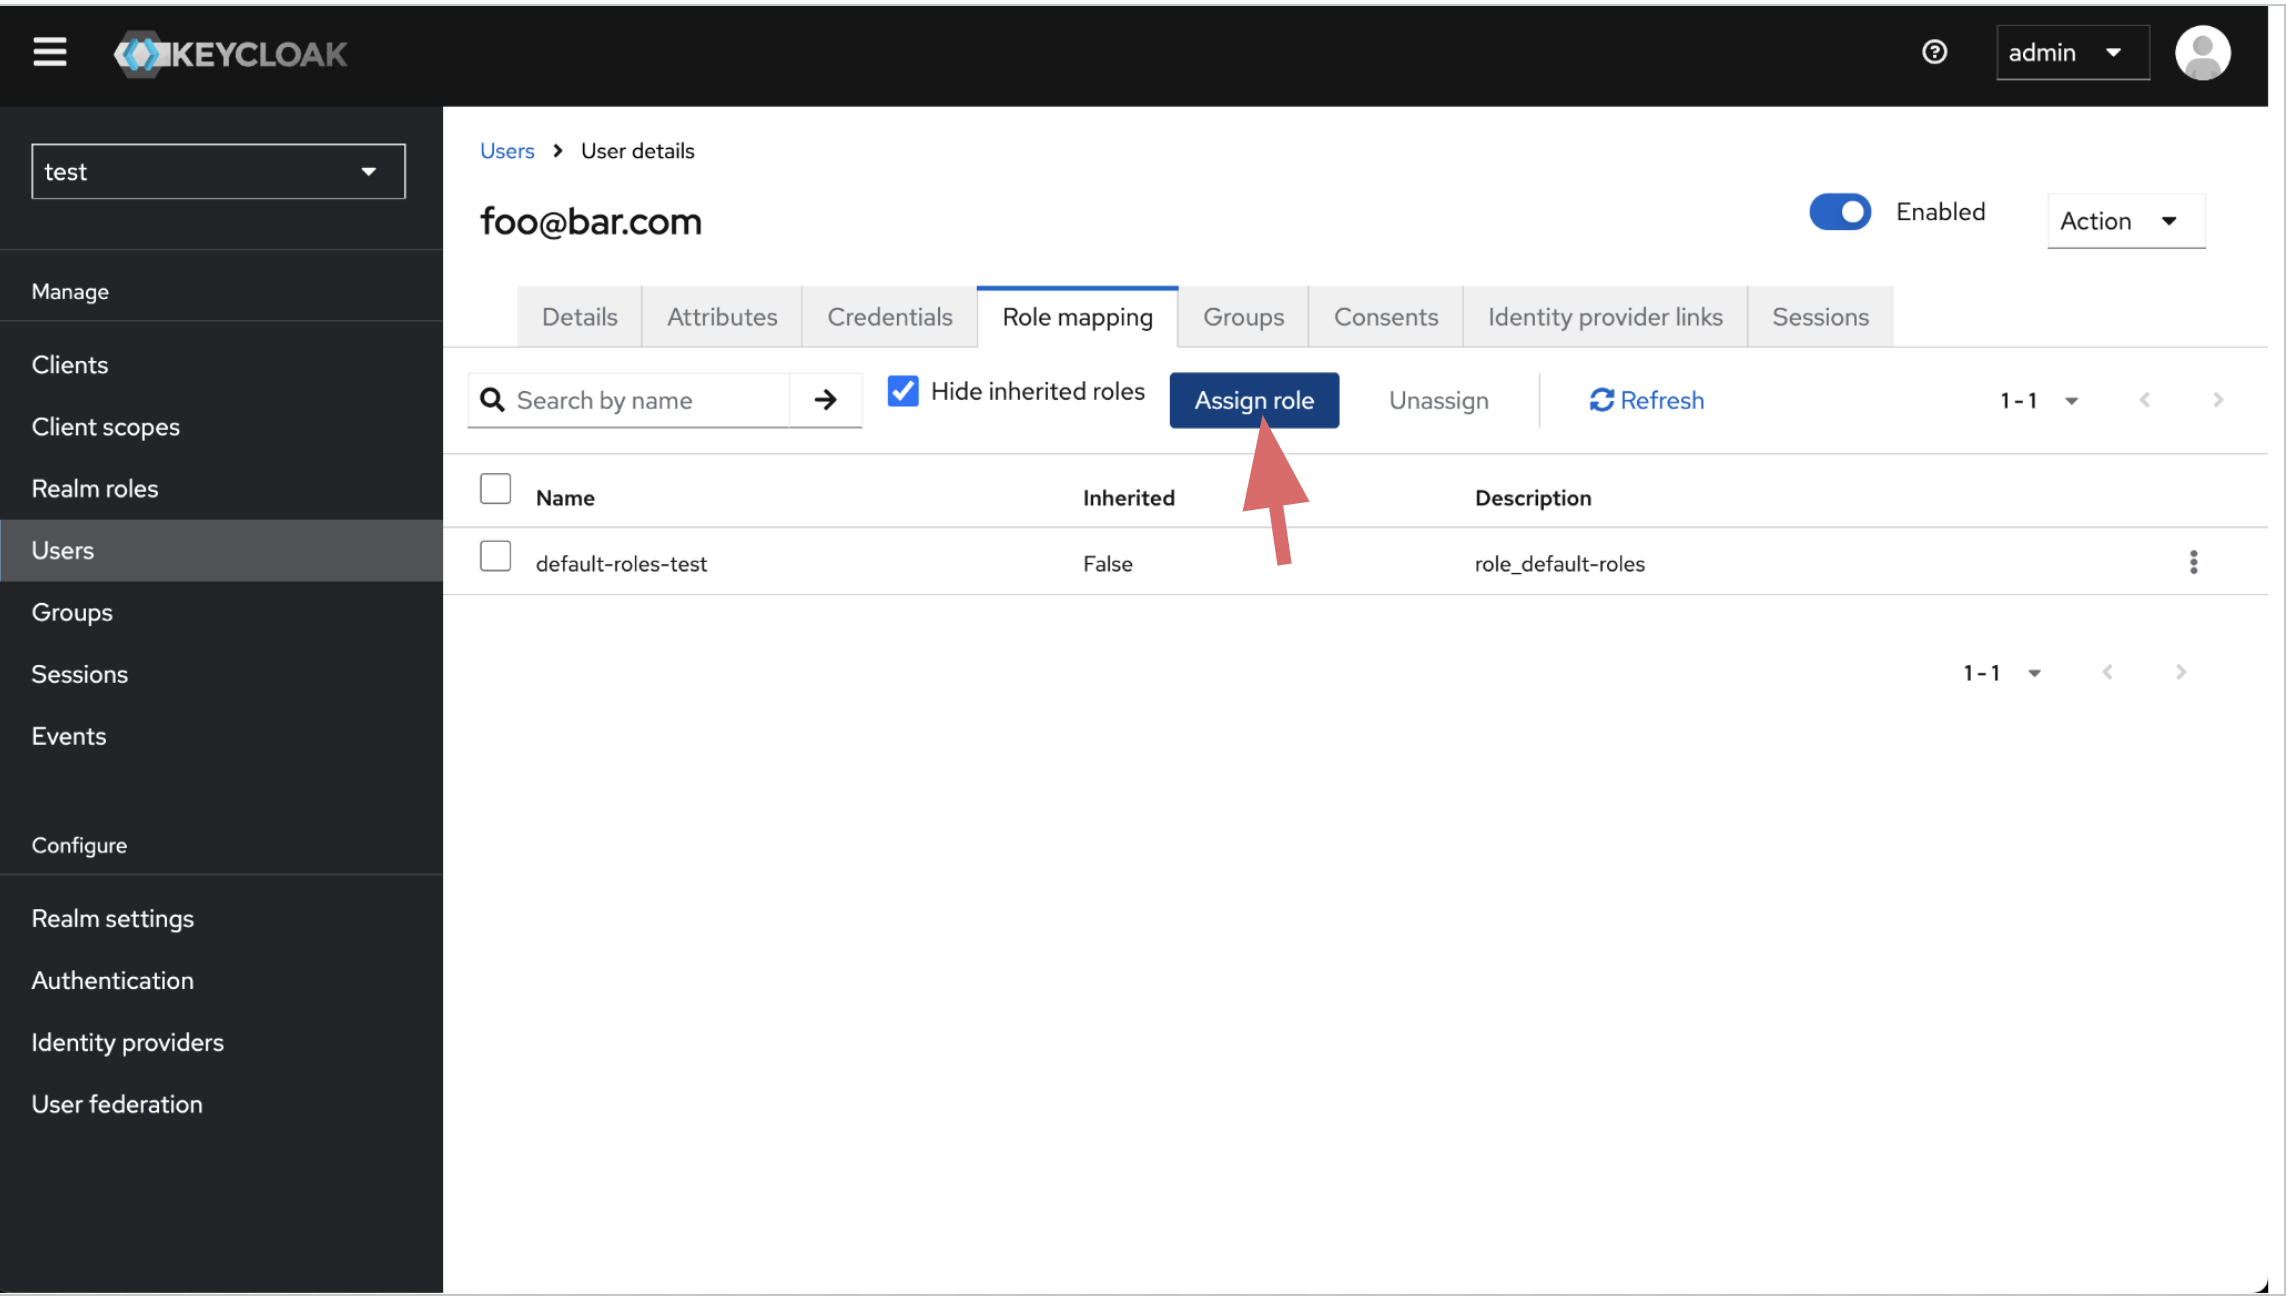
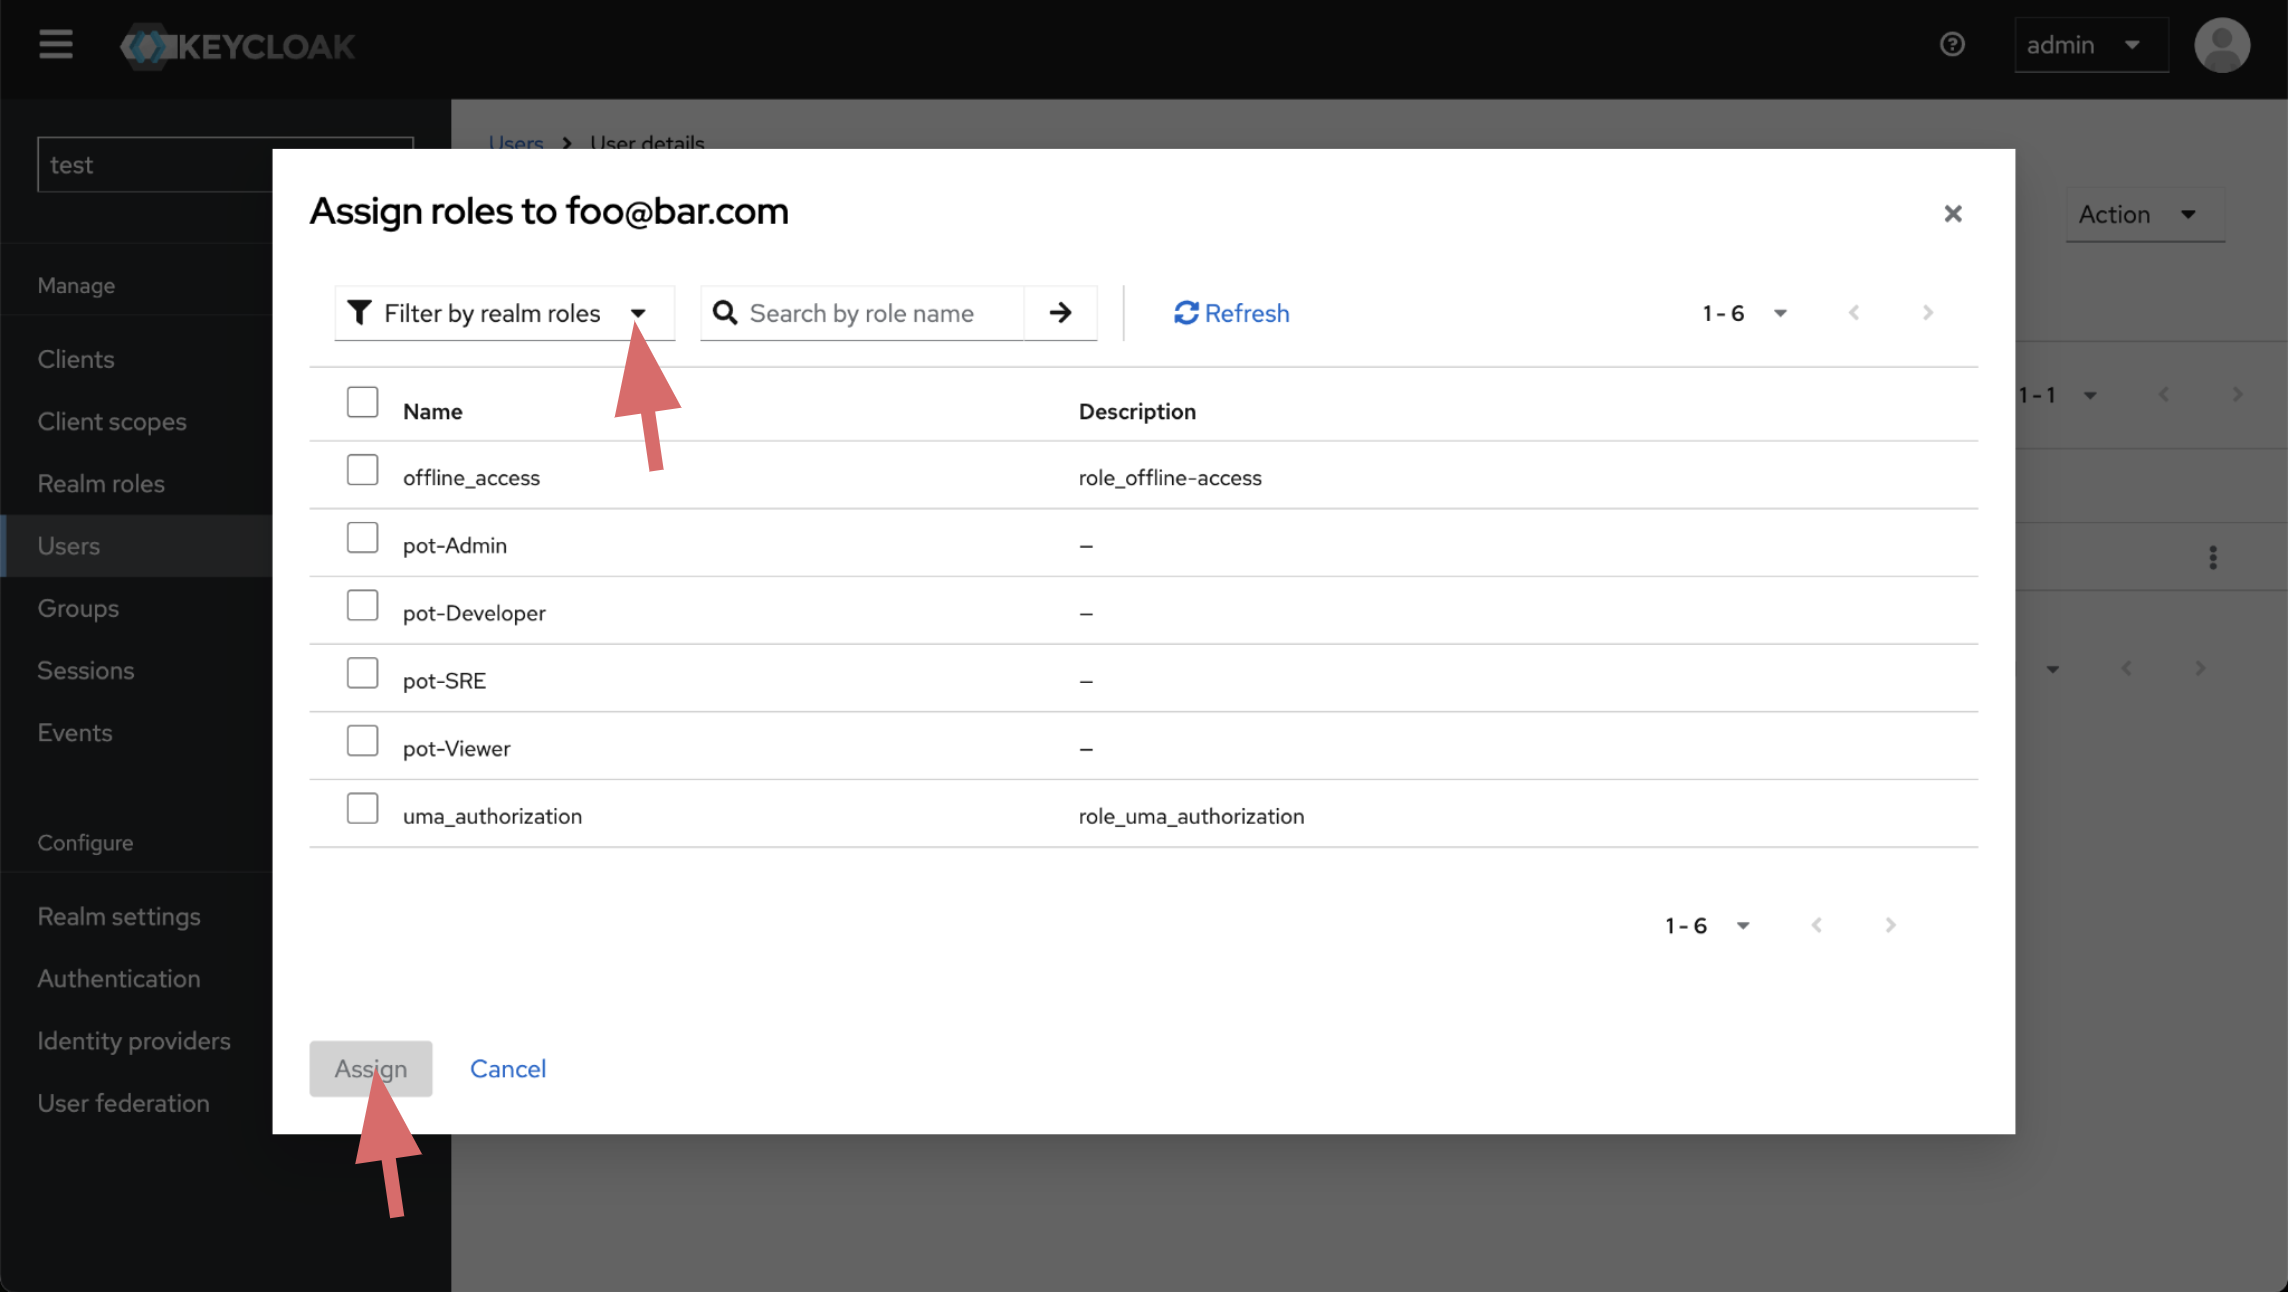
Create User
Create user inside imported realm. Create user's password and assign role.
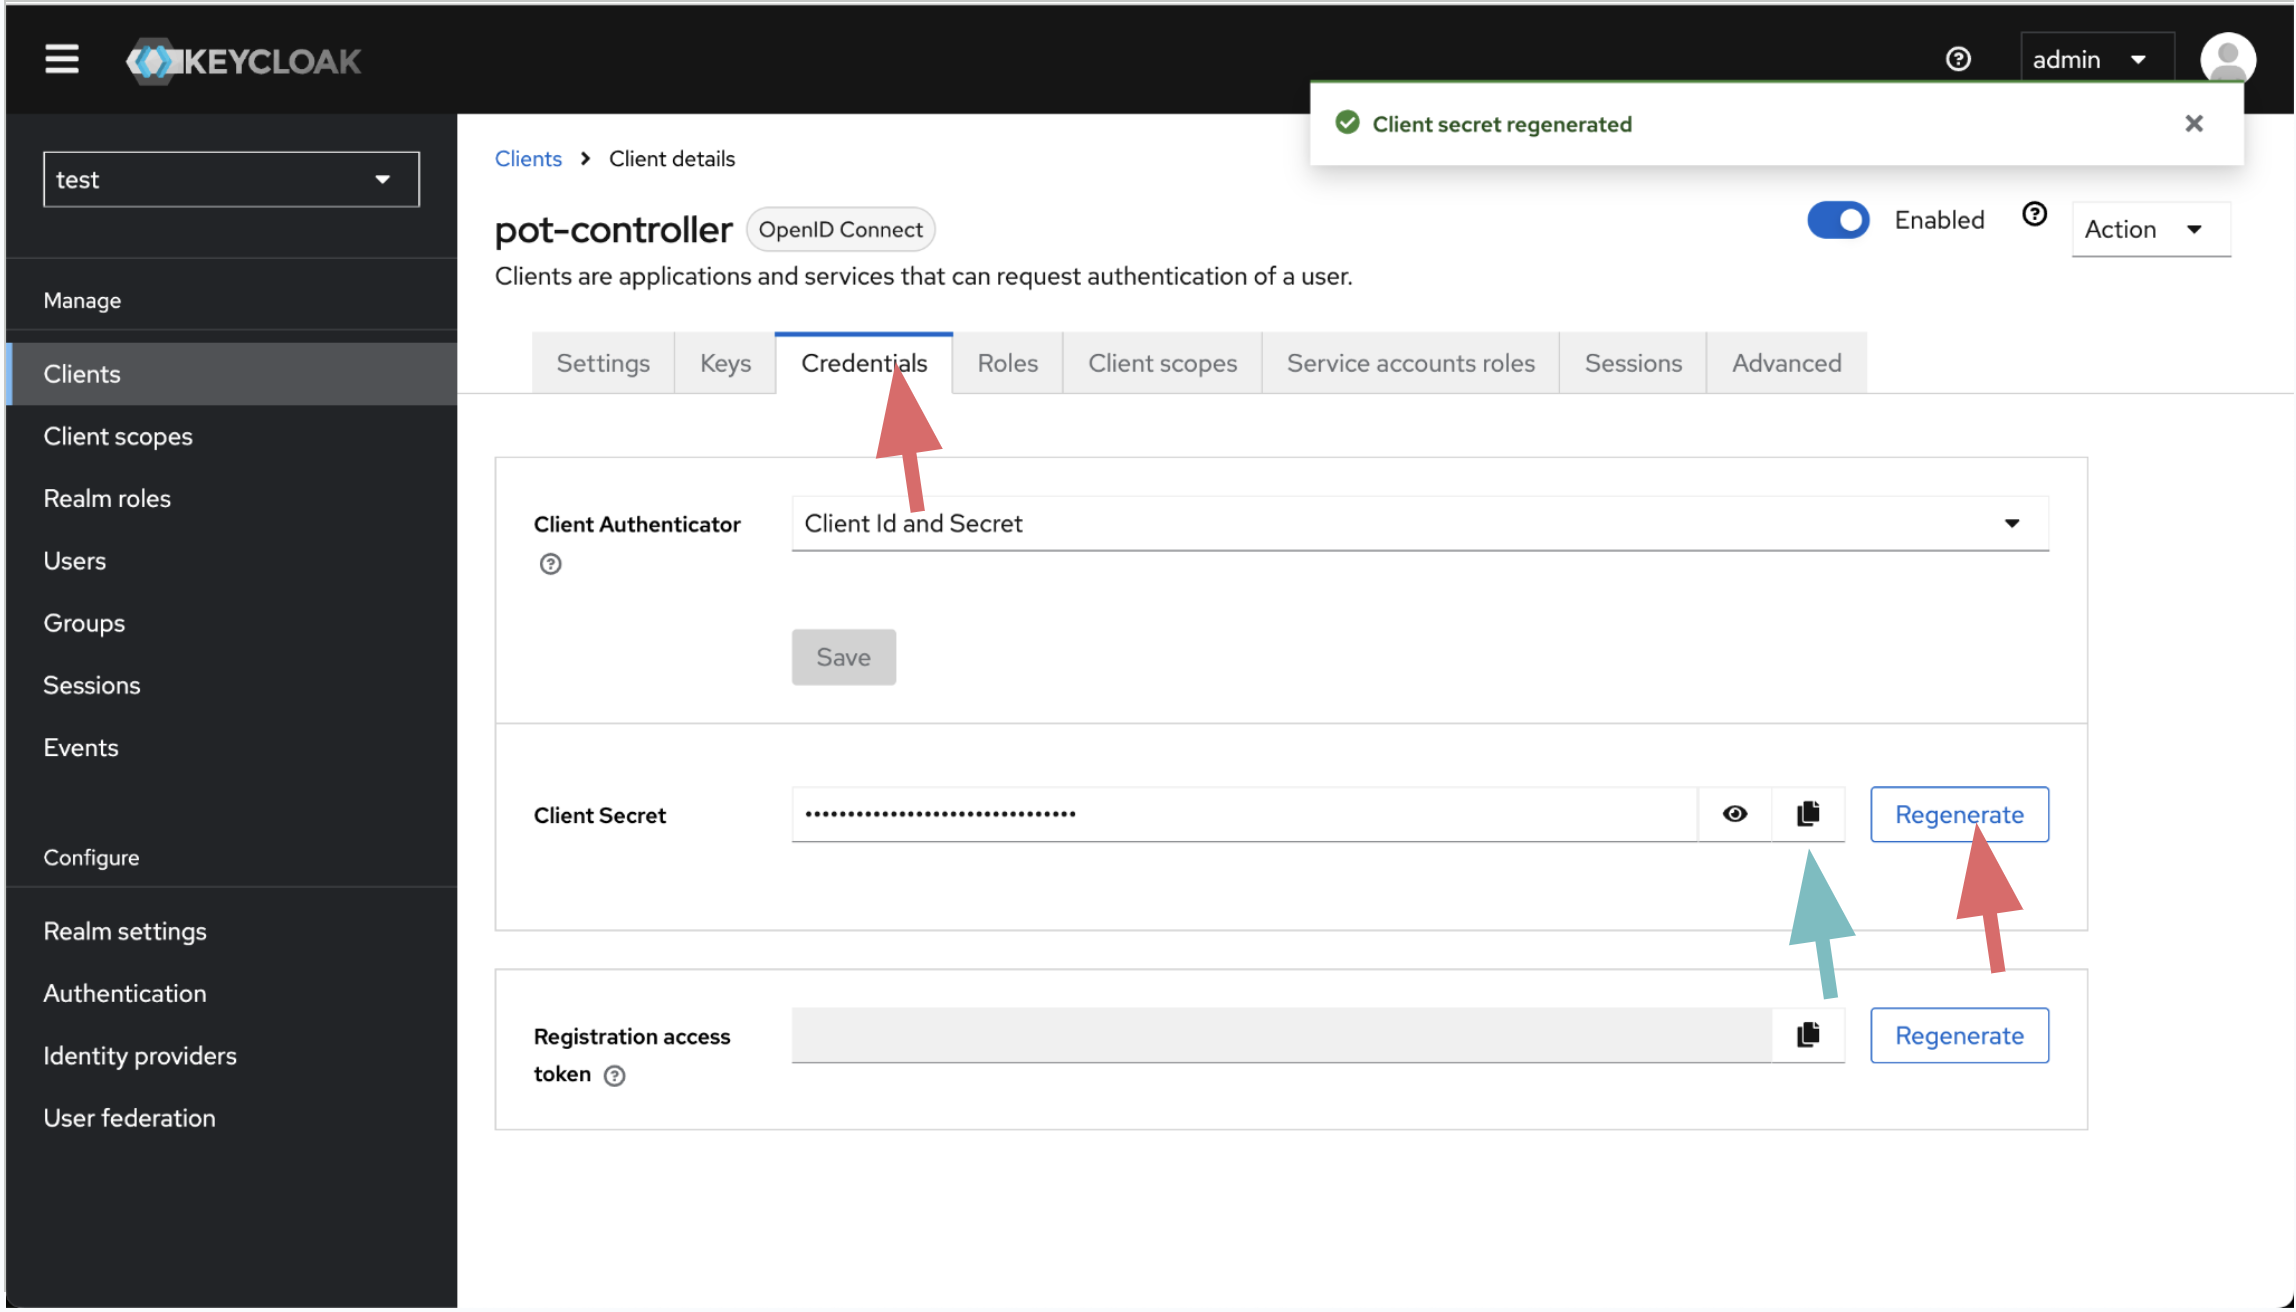
Generate Client Secret
Generate client secret for iofog-controller client. Copy and save it, you wil use it while preparing ControlPlane yaml.
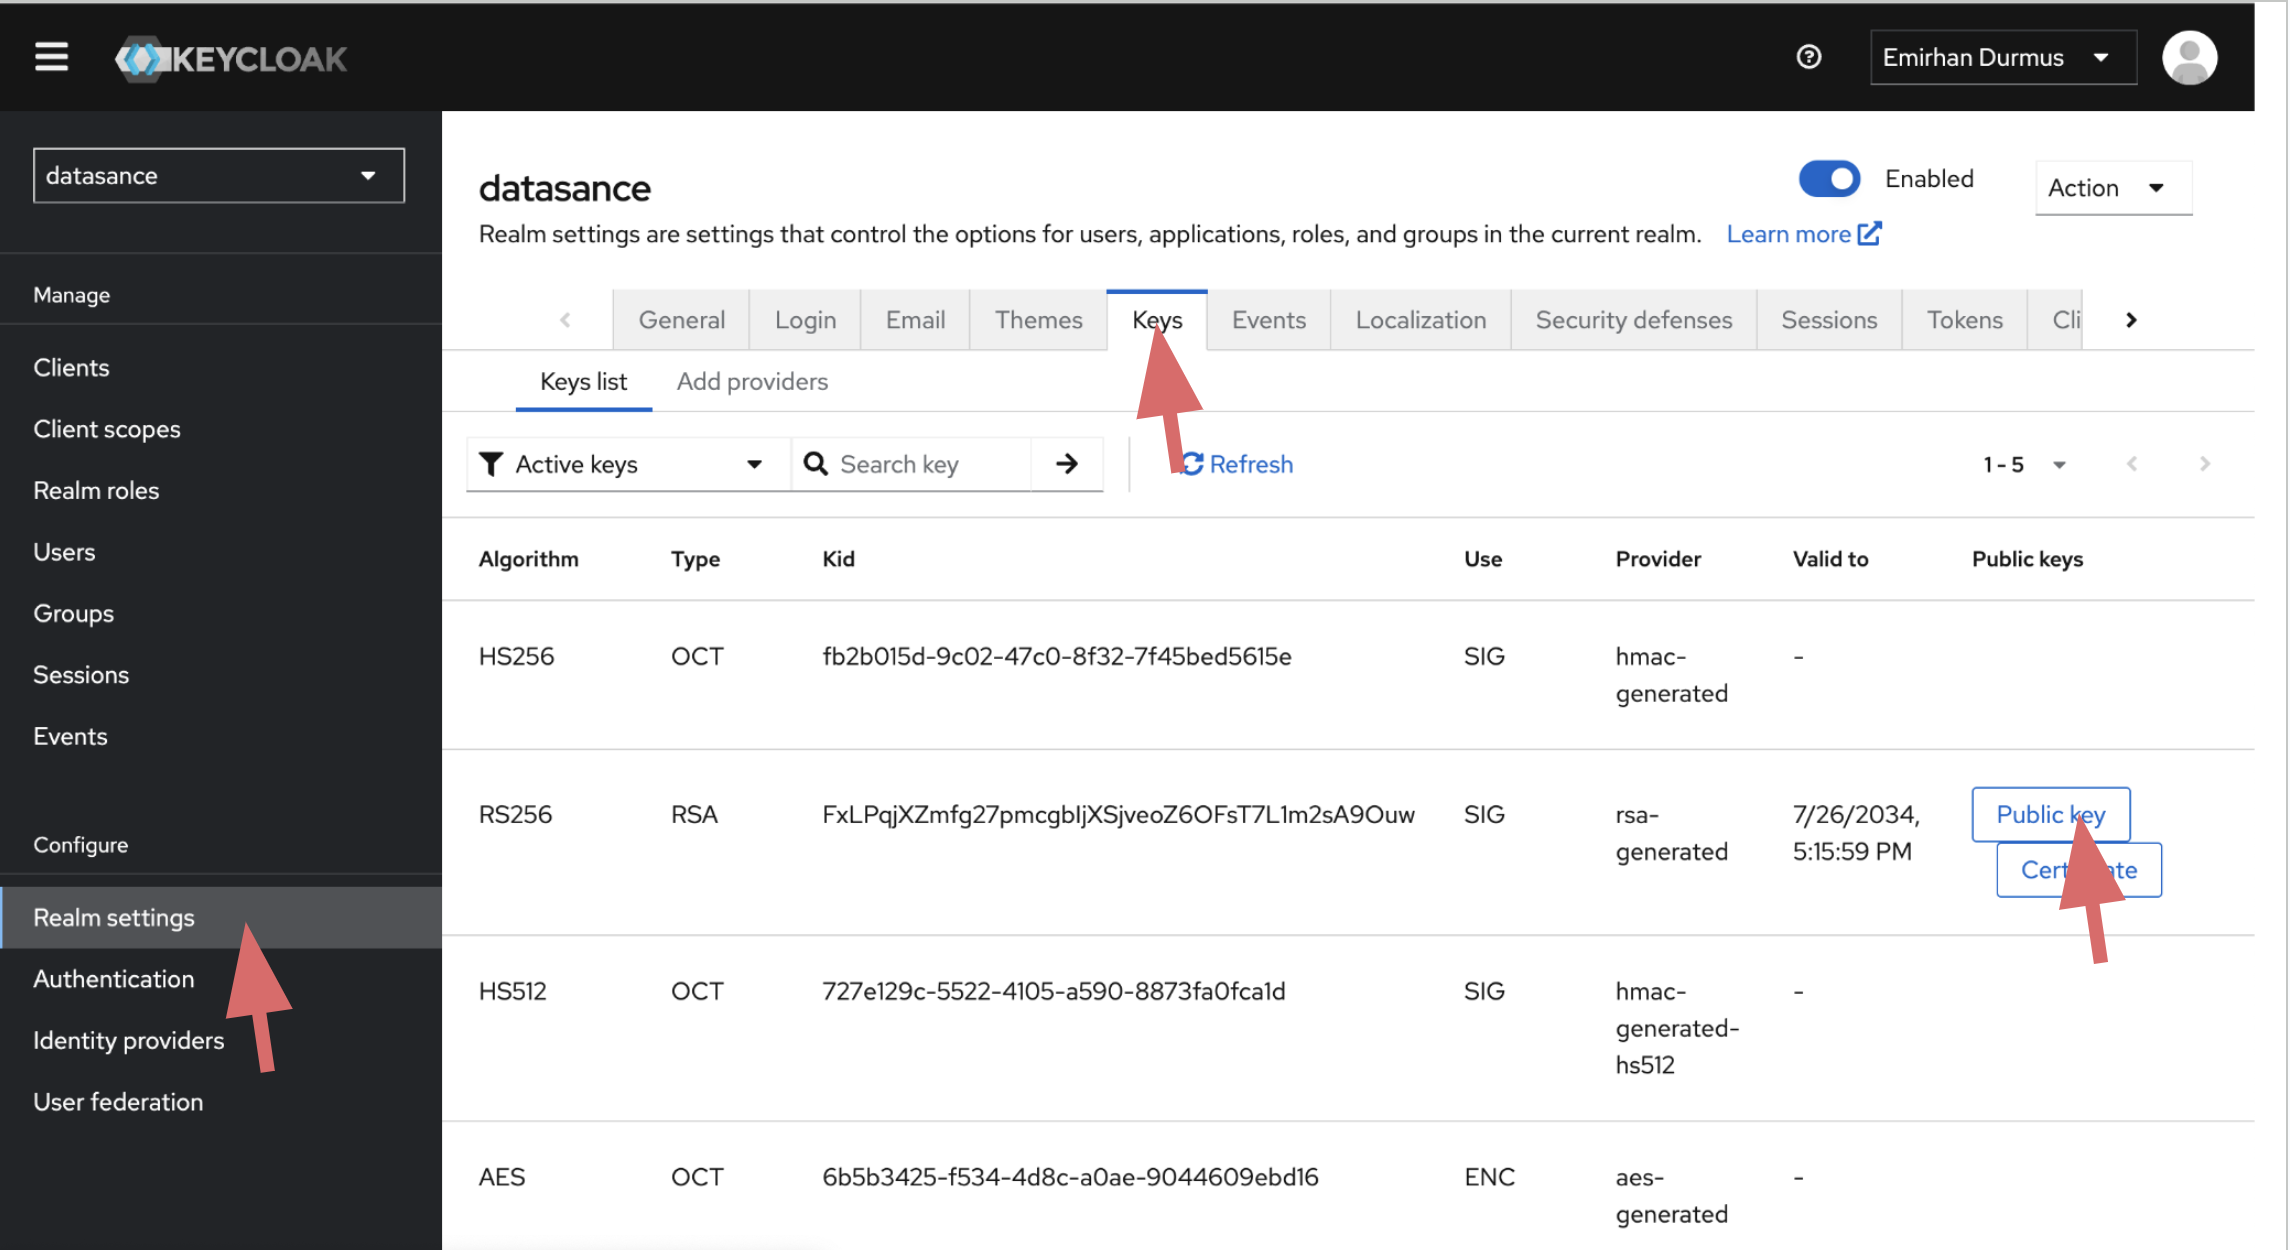
Get RealmKey
Get your realKey. Copy and save it, you wil use it while preparing ControlPlane yaml.
Prepare ControlPlane yaml
Now you are ready to deploy ControlPlane with the auth configuration generated on previous steps.
echo "---
apiVersion: iofog.org/v3
kind: KubernetesControlPlane
metadata:
  name: albatros-1
spec:
  iofogUser:
    name: Foo
    surname: Bar
    email: foo@bar.com
    password: testPasword12xlj
  auth:
    url: https://kc-url/
    realm: $realm-name
    realmKey: $realm-key
    ssl: external
    controllerClient: iofog-controller
    controllerSecret: $controller-client-secret
    viewerClient: ecn-viewer
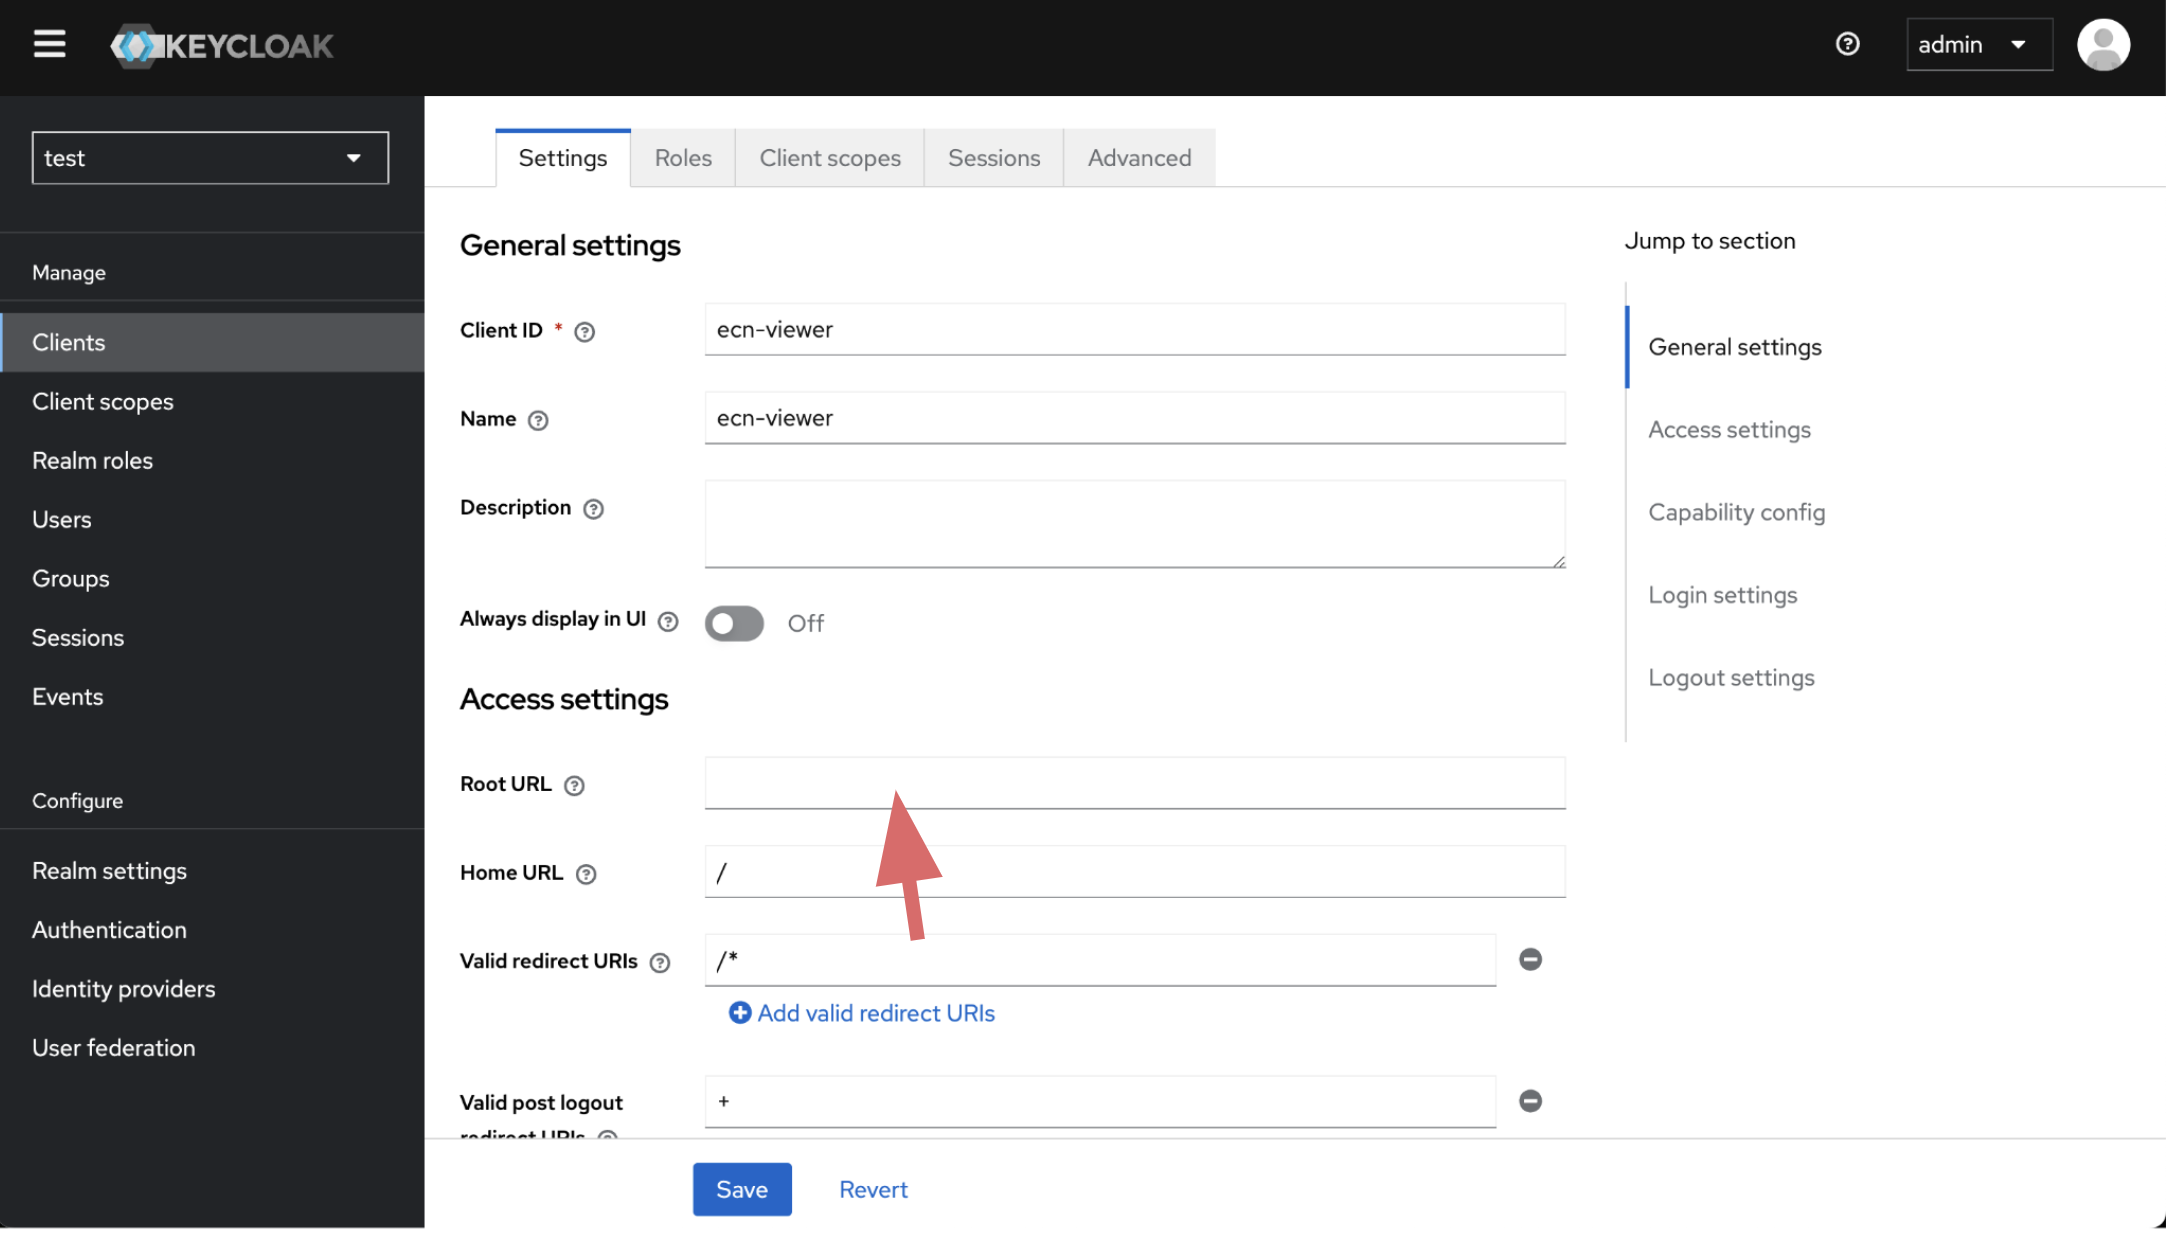
Configure ECN-Viewer URL